


8 Holes, No Waiting
A crazy-low-price tool for making sticks. Does it work?

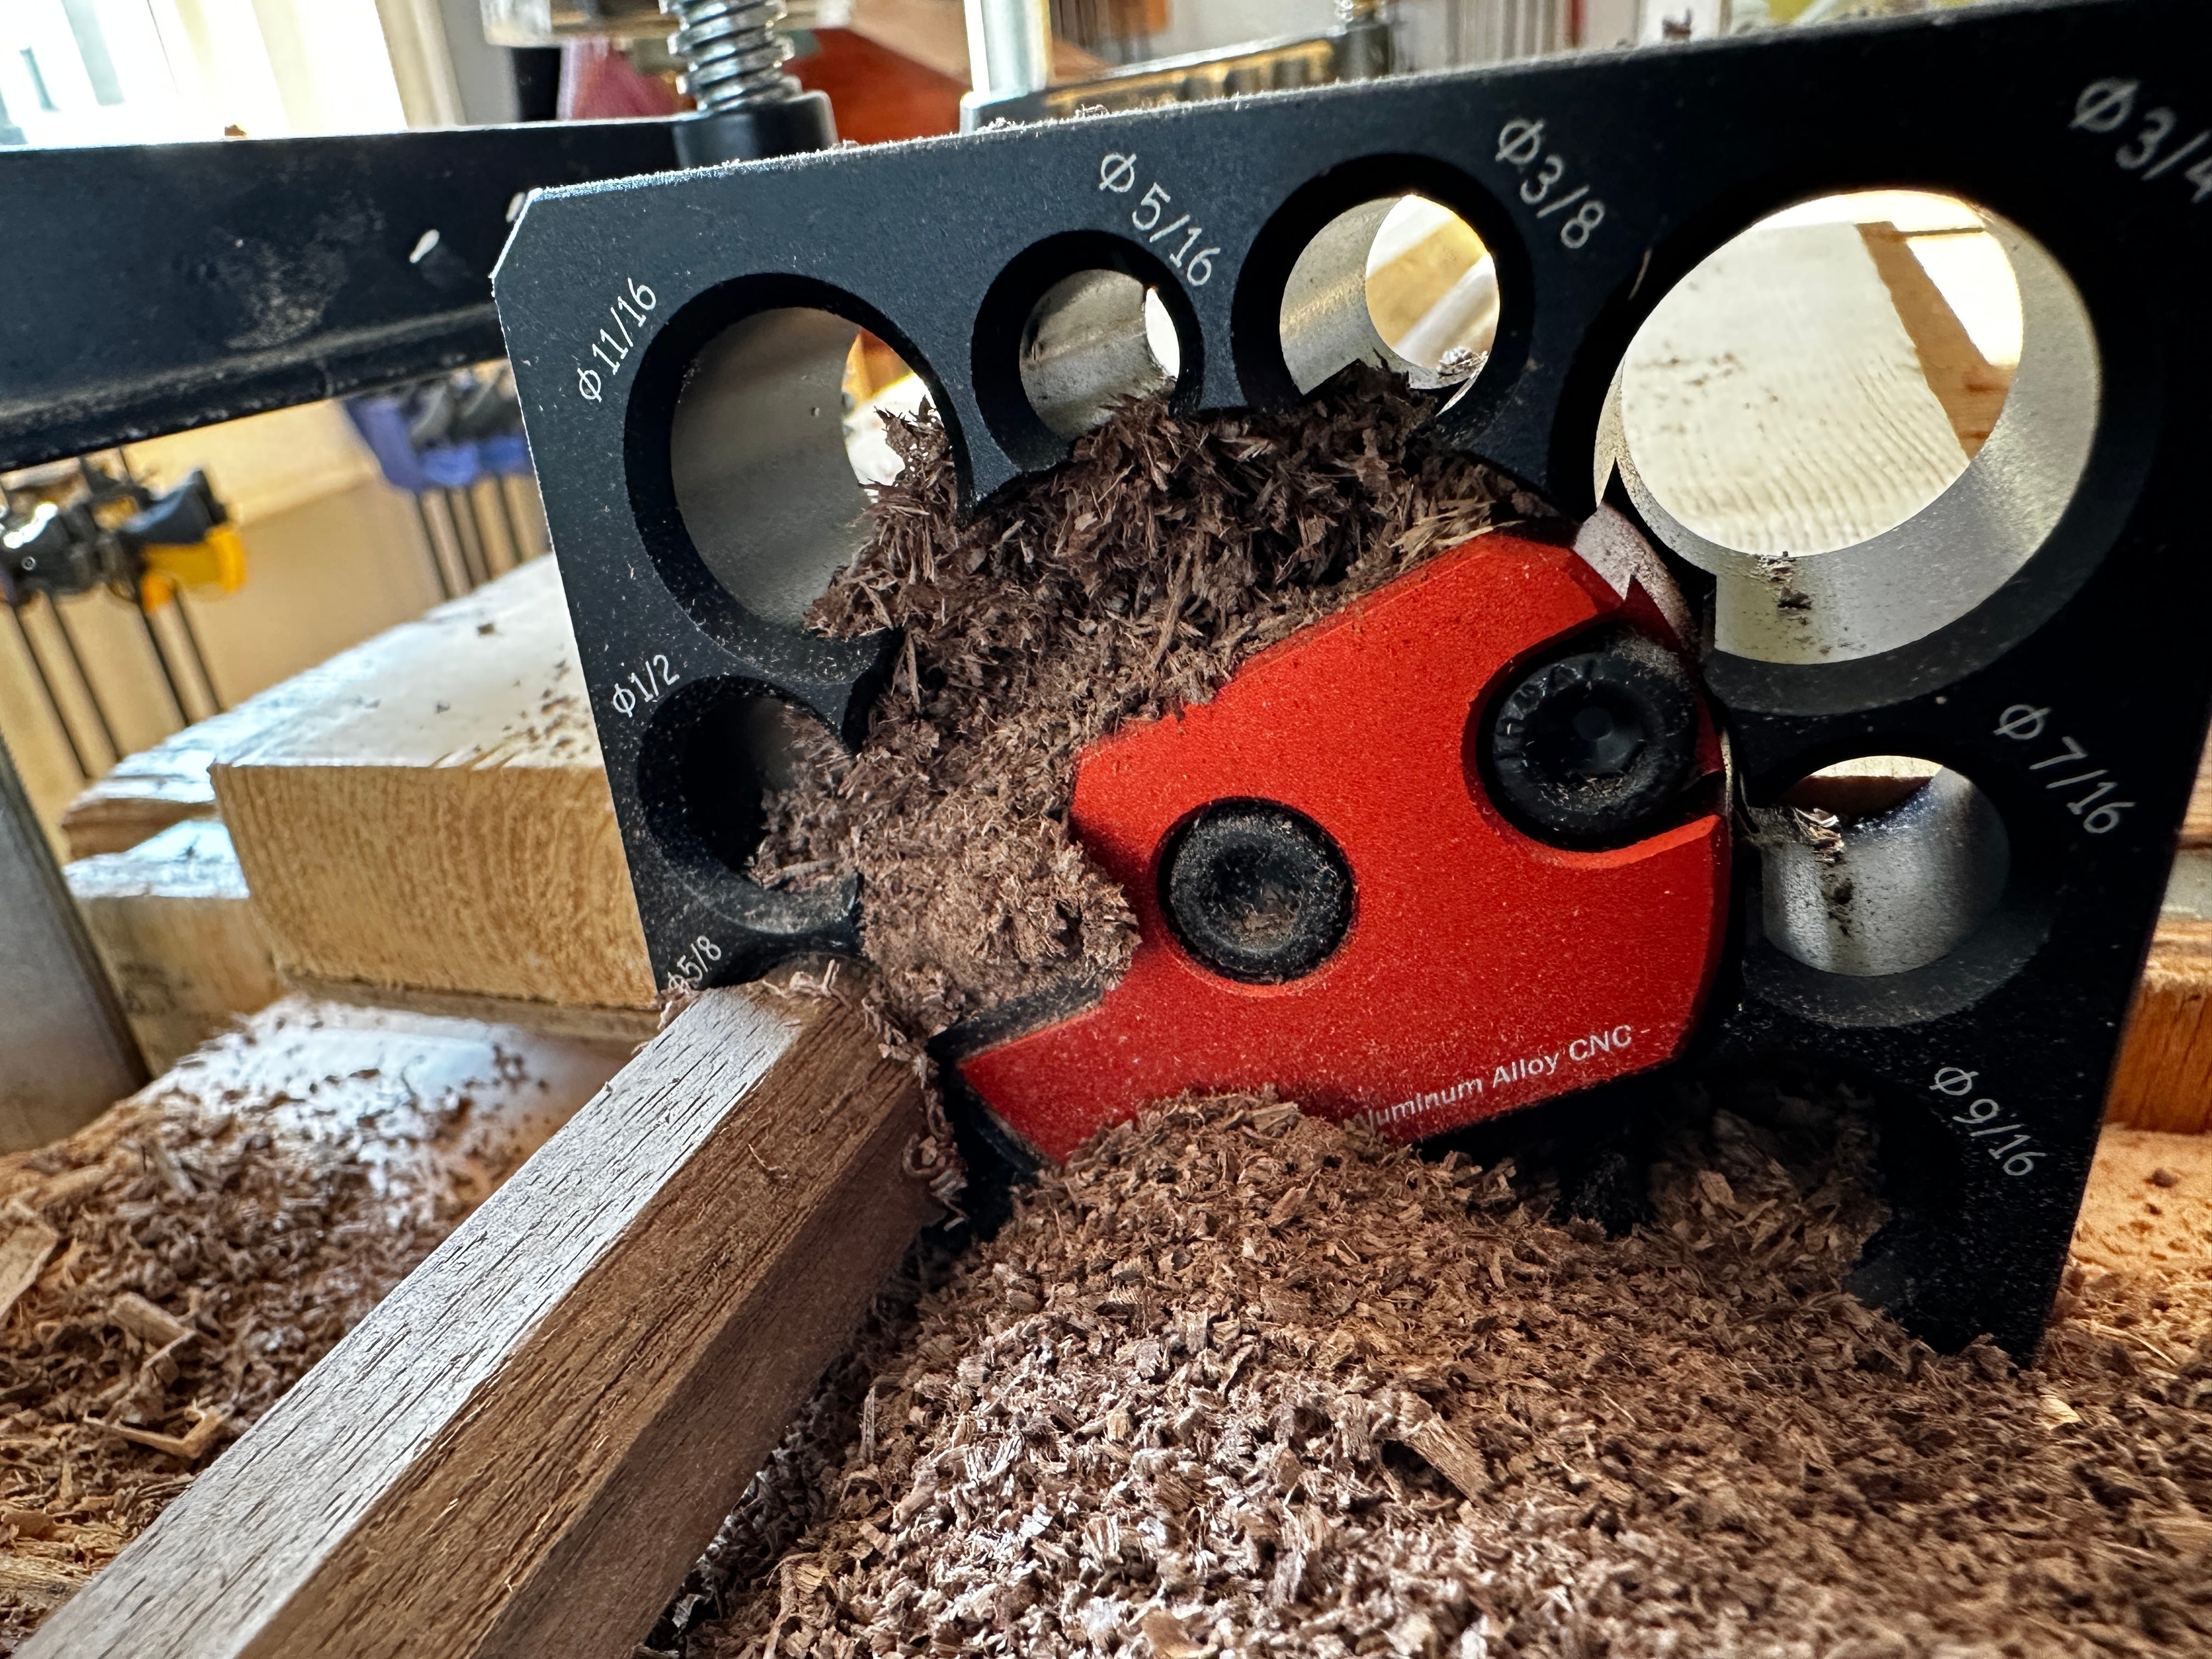
I suspect this tool has sneaked into your feed through the power of internet marketing. I eyed it for almost a year but always resisted buying it. Why? It’s $27. There’s no way a $27 tool can make chair sticks in sizes from 5/16" to 3/4".1
But after Andrew Glenn (I highly recommend you subscribe to his substack) bought one and reported some success with it, I decided to give it a trial.
I got the dowel maker to work surprisingly well. Well enough that I will use it to make sticks for chairs (though not in a classroom environment because of its learning curve). My biggest caveat is that you must follow the detailed instruction manual with care (just kidding – the thing doesn’t come with any instructions).
Here’s how I made it into a working tool.
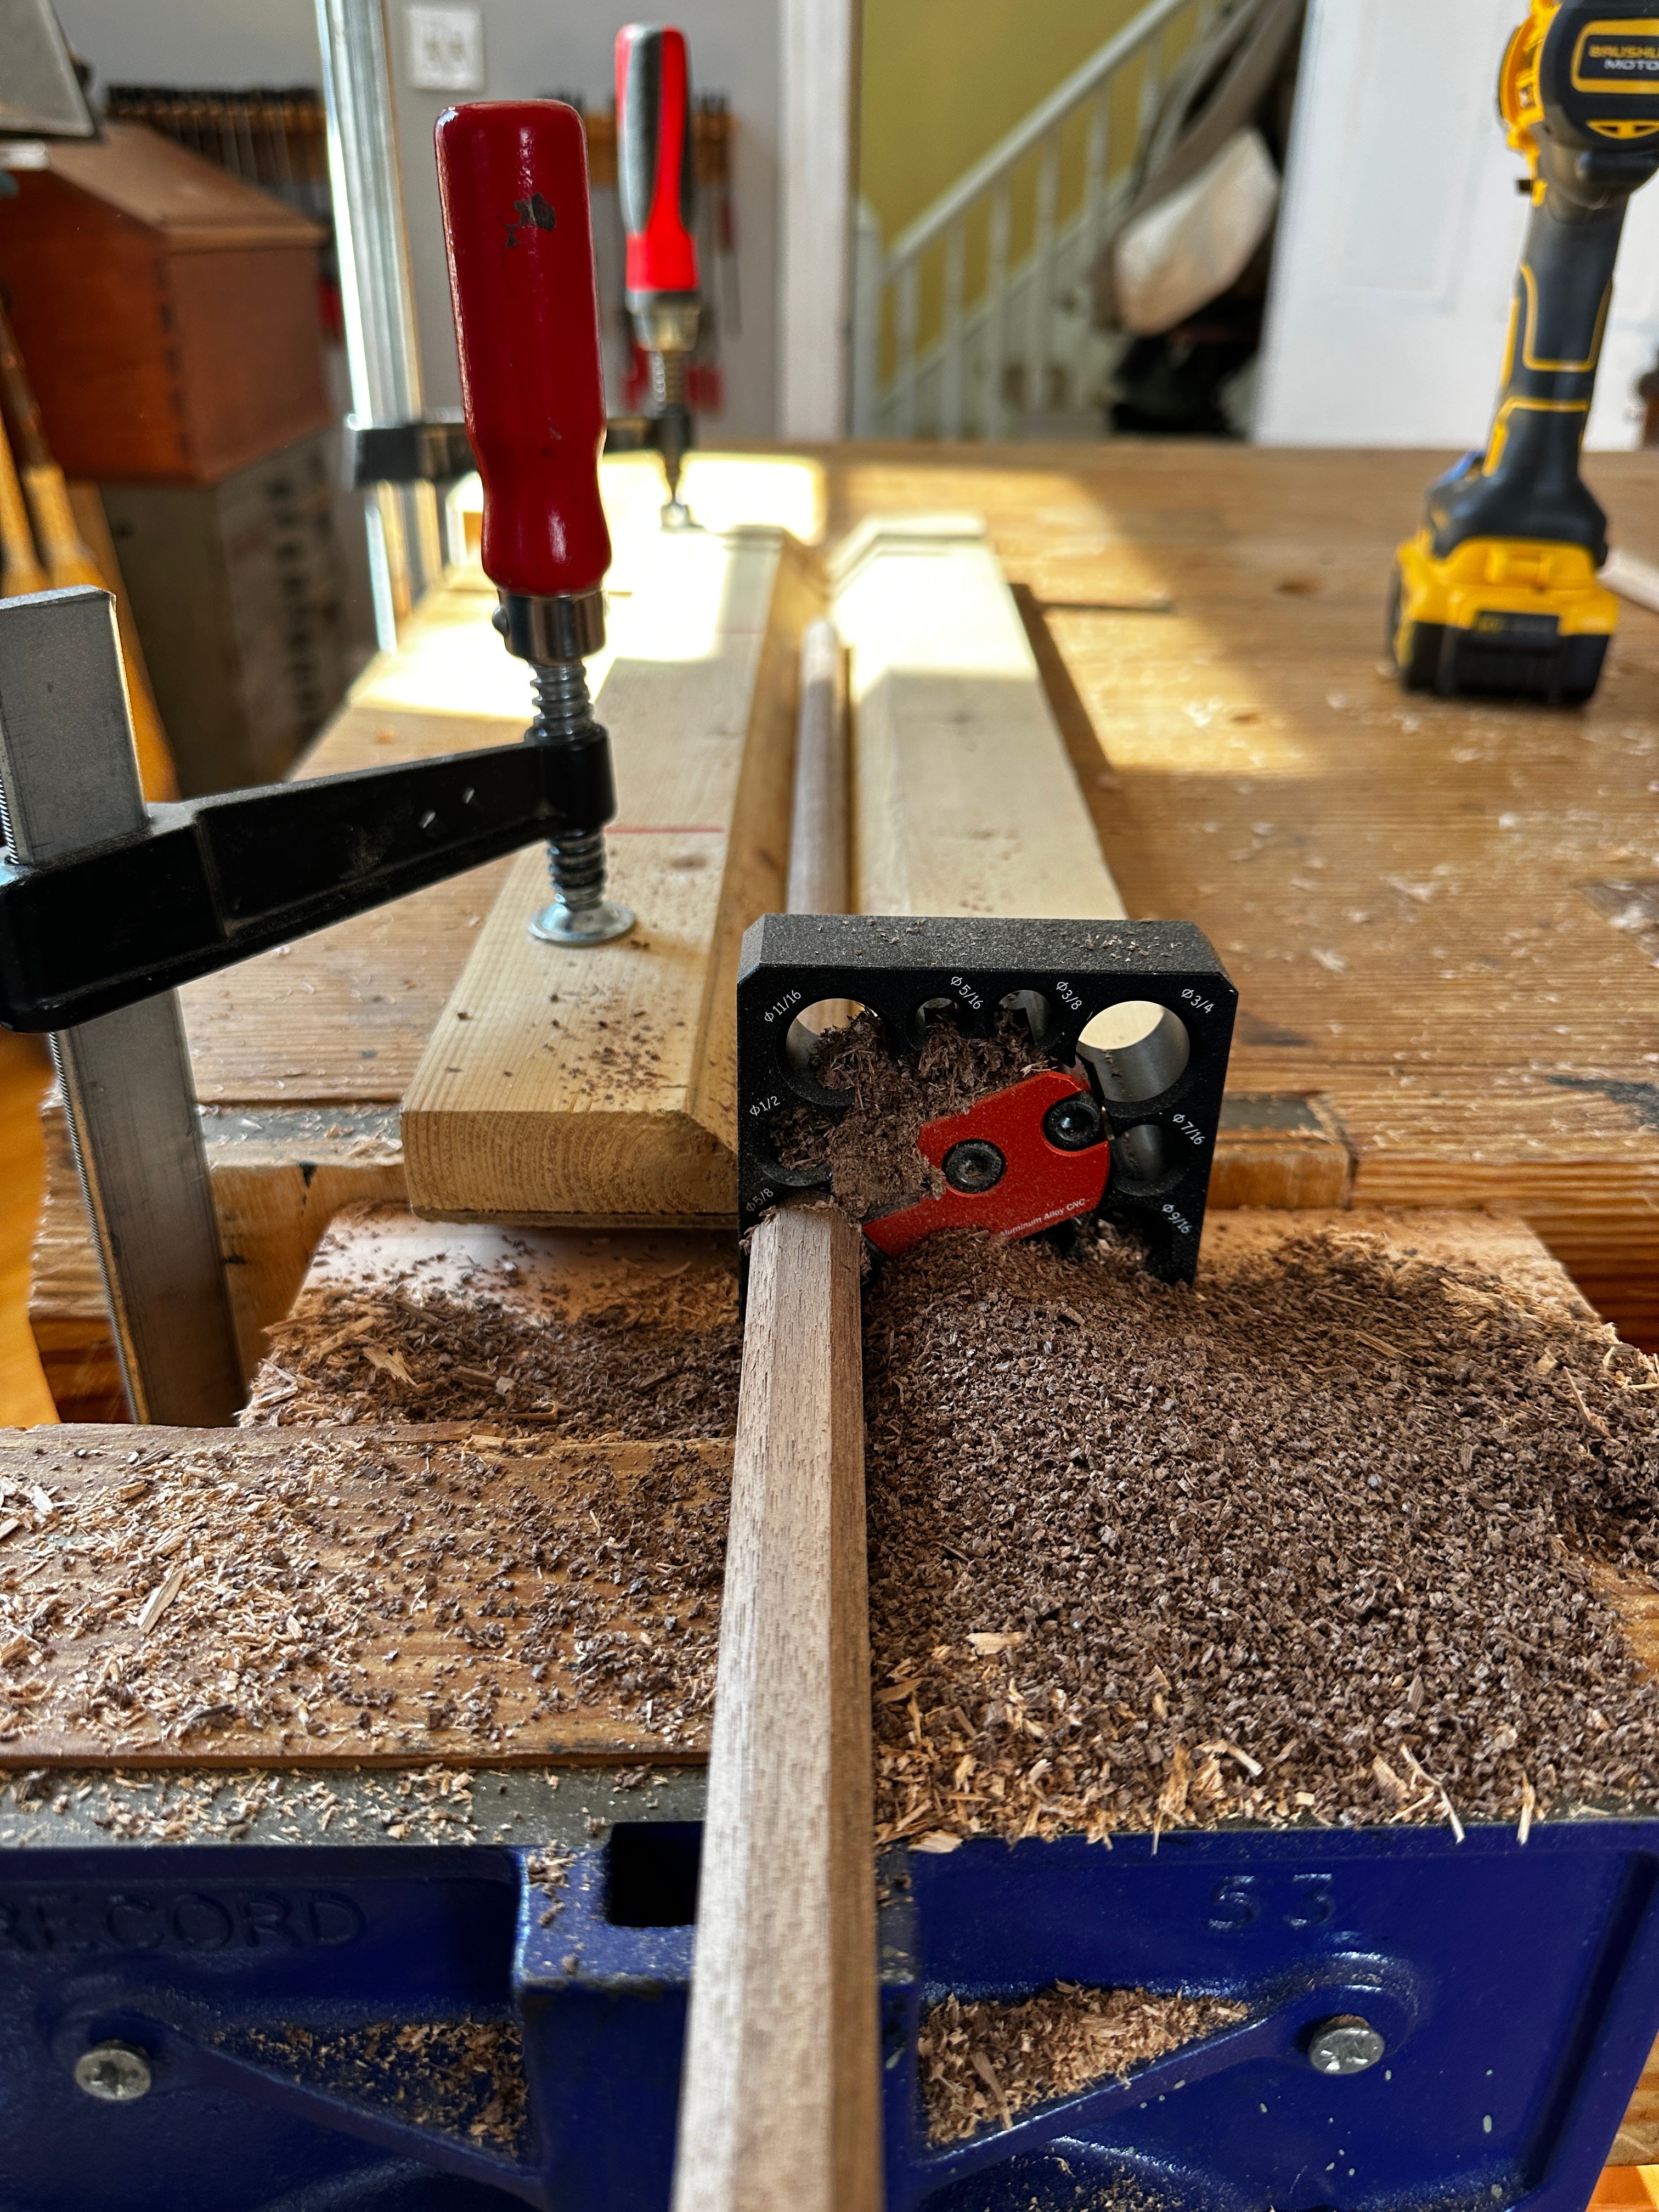
The tool cuts with a carbide insert, so you get four sharp edges. When one edge gets dull, you loosen the Torx screw, rotate the square cutter and get back to sharp. Yup – just like the carbide insert cutters on machines.
You use a hex key (included) to rotate the cutter to the correct hole. Then you spin the wood through the jig to make the dowel in the size desired.
How do you spin it? I used a drill equipped with a 3/4" hex socket. Choose a drill that puts out high rmp. My drill spins at 2,000 rpm, which gave the cleanest cut. Use a corded drill if possible – this operation drains batteries for breakfast and lunch.
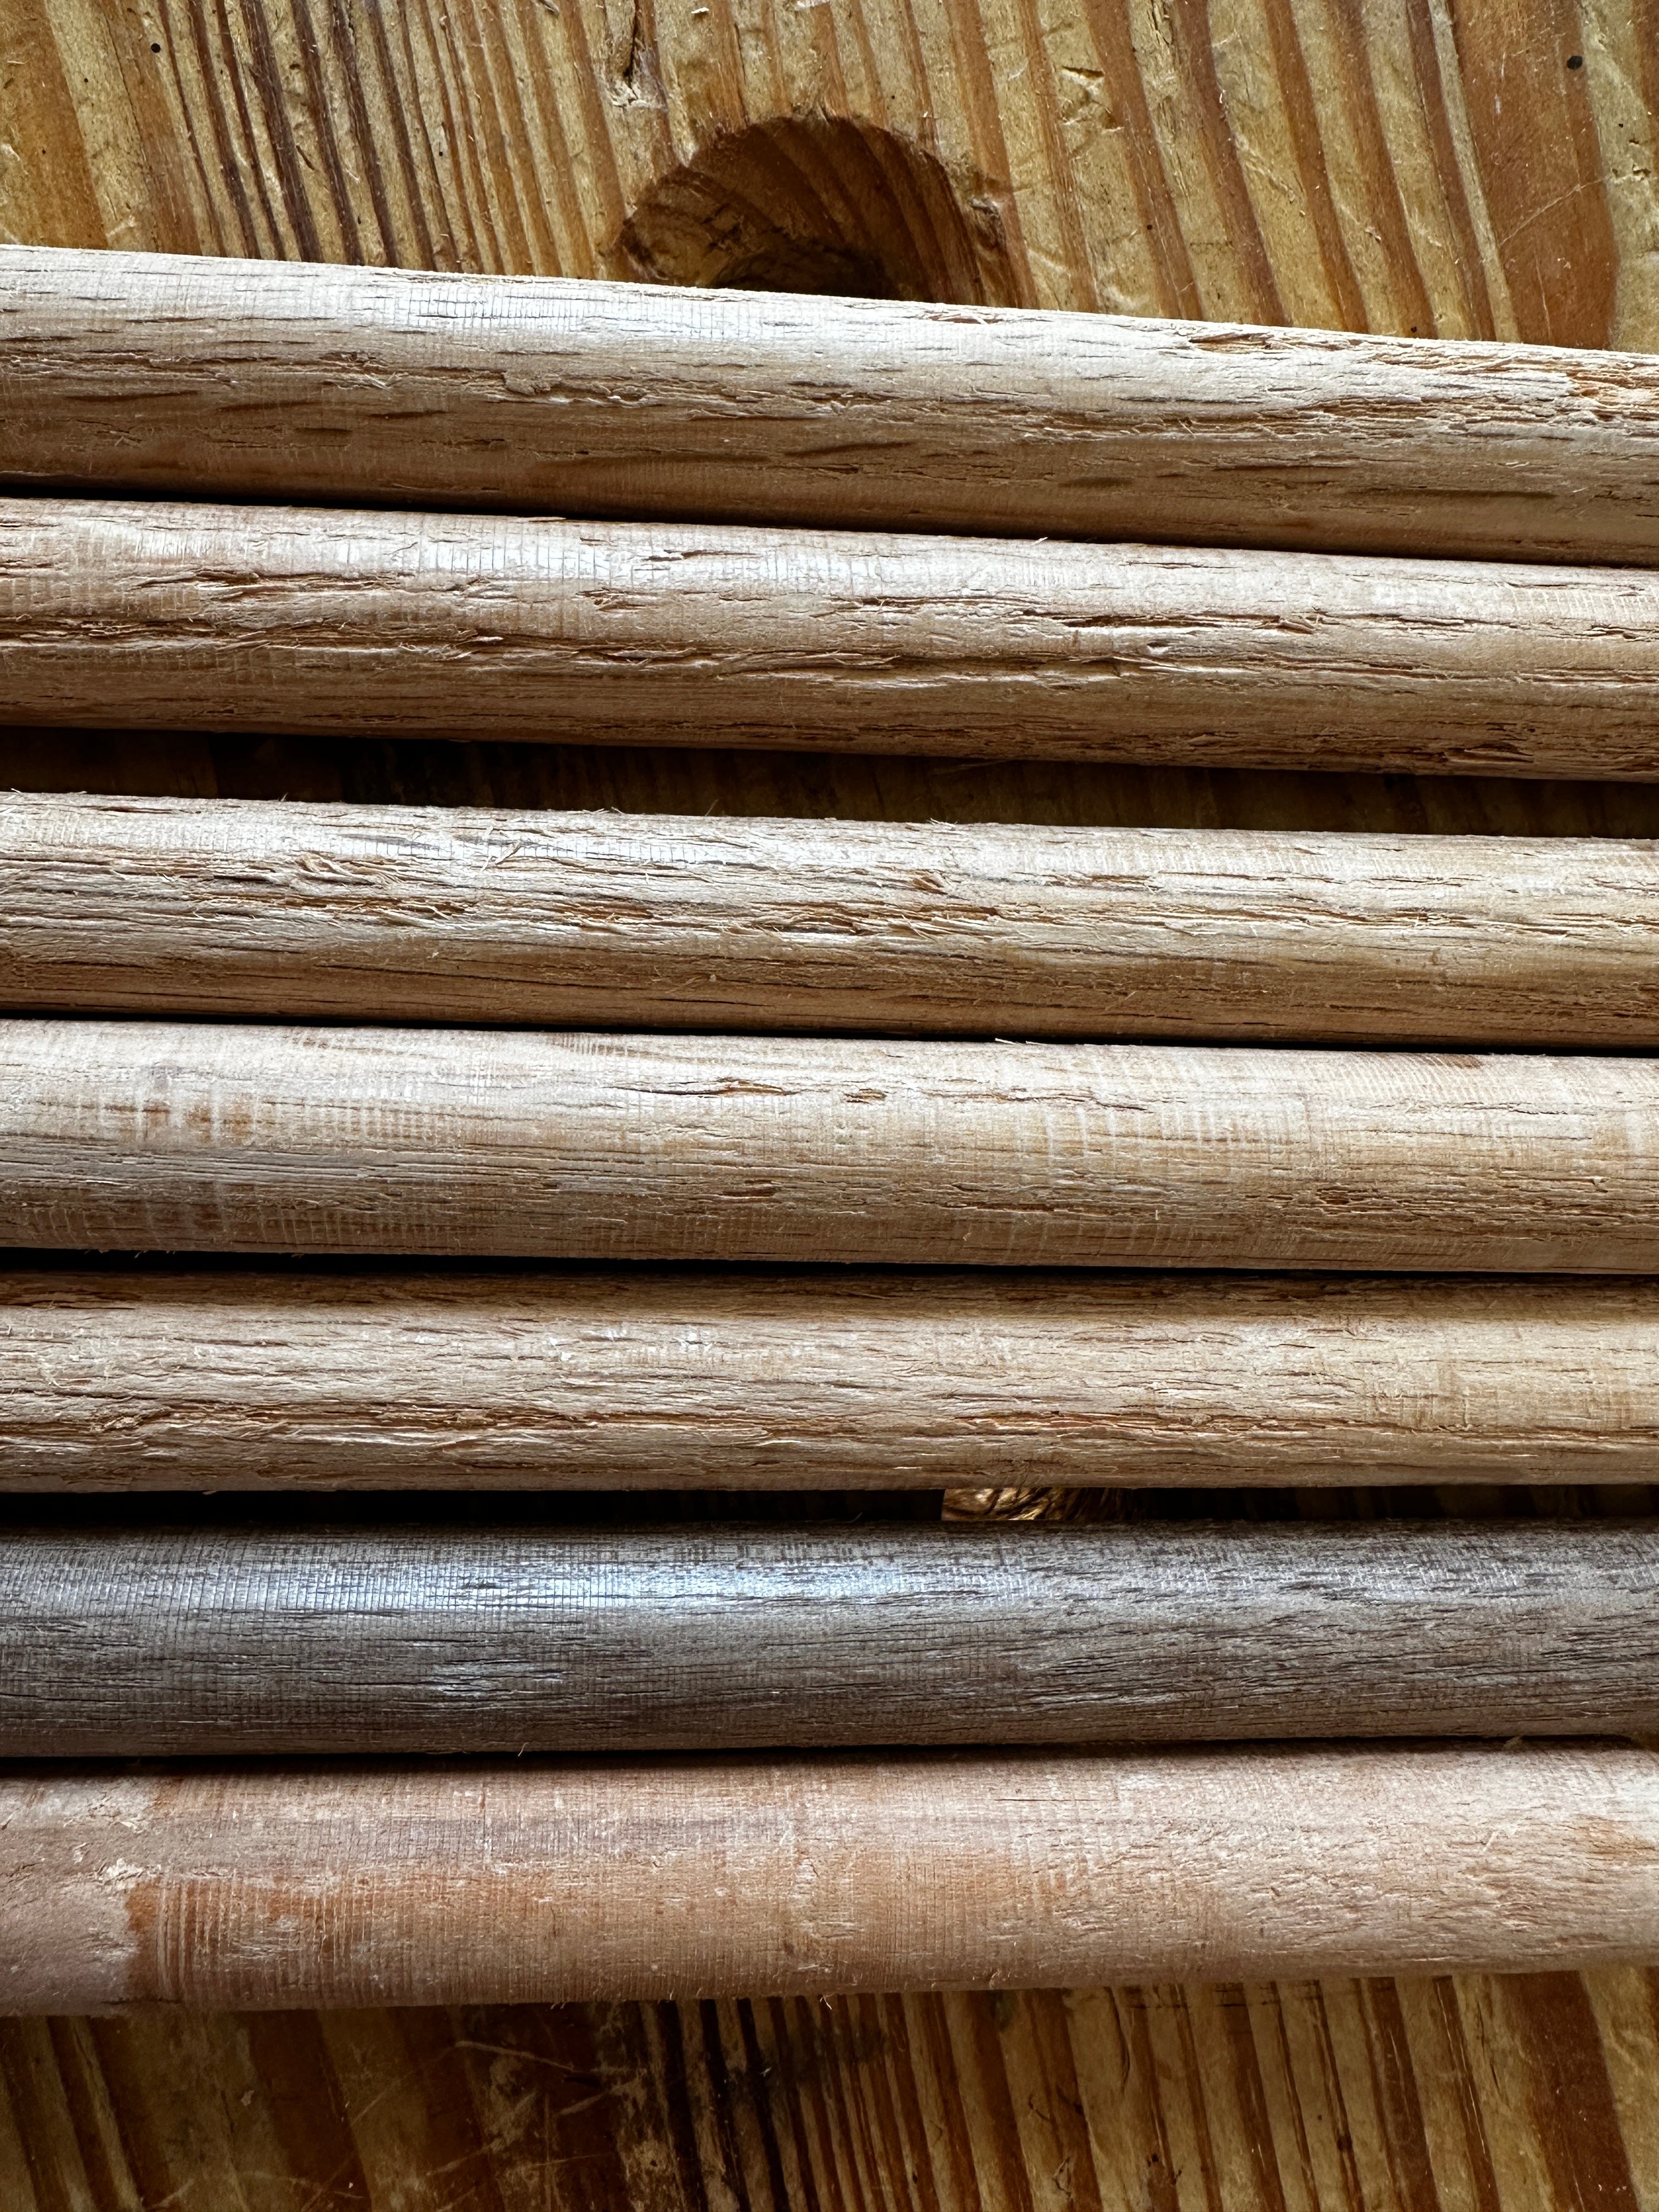
You have to prepare your stock with care. Use straight stuff. Any sticks with warp are likely to self-destruct during the cut. Cut the stick into an octagon that fits snug in the socket. If it’s too loose, the corners inside the socket will get rounded over and the stick will stop spinning.
The video on the tool’s Amazon page shows the user with square stock. That requires a lot more force. Octagons work better.

You have to point the end of the stick to get it started in the dowel maker. I used a chamfering tool in a drill (important update on this tool at the bottom of the entry).
You will get the best results if you keep the stick supported as it comes out of the jig. I used a V-jig that we also use to hold chair legs when handplaning them. If you don’t support the stick, it will whip around and crack.
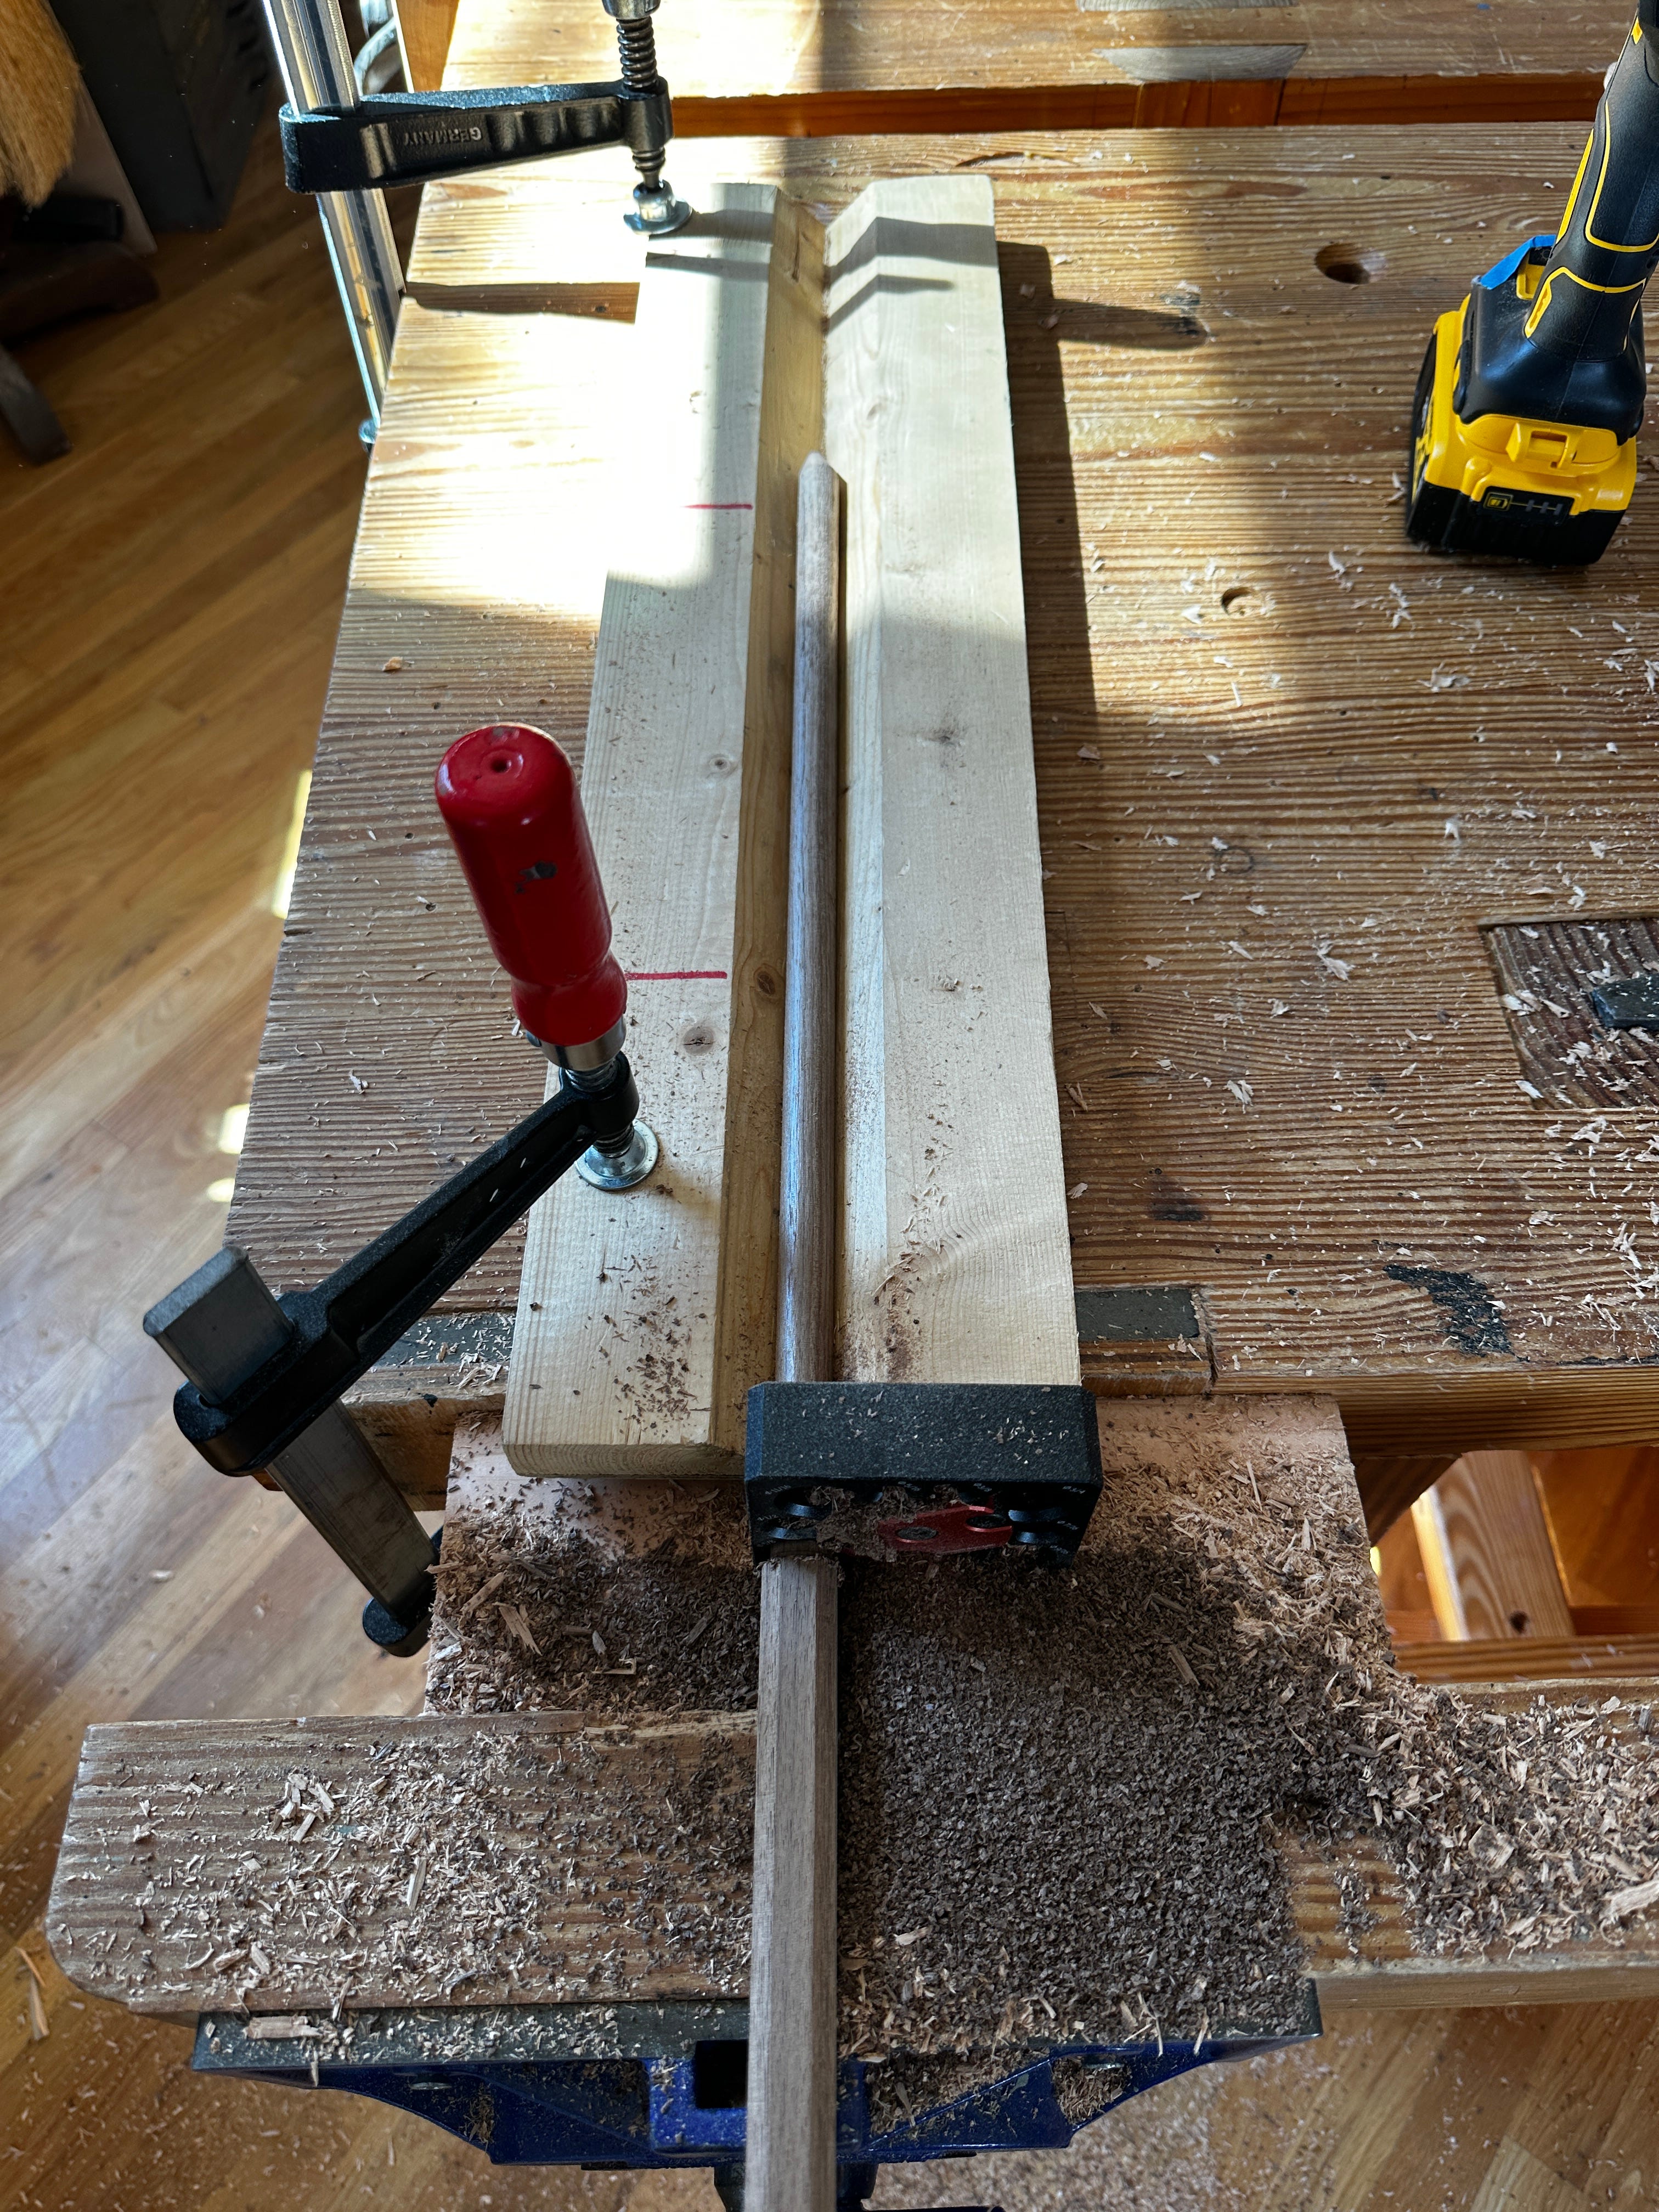
As you push the spinning stick into the dowel maker, run your drill at the max rpm and advance slowly. Don’t over feed the stick (it will snap). Keep the stick in line with your V-jig and the dowel jig as you push forward. A misstep results in snapped and cracked and popped sticks.
After you are done making the stick, take an awl and clean all the waste away from the cutter. If you don’t clear the waste after every stick, the dust will get packed in there and the tool can’t cut.
You need to practice with the jig to get a feel for the feed rate and your body mechanics. Your first eight or 10 sticks might look like crap. You might break a few. You will likely drive some sticks in off-center and the cut will stop (there are limits to the bite the carbide can take). But a little practice pays.
Keep reading with a 7-day free trial
Subscribe to Never Sponsored to keep reading this post and get 7 days of free access to the full post archives.